Whether you’re upcycling an old wooden bench or revamping the exterior of your home, it’s a good idea to stock up on decorating products from a site like Rawlins Paints before preparing your surfaces for painting. The latter will help you get a really smooth finish, so here’s how to get a blemish-free foundation on which to apply a colour of your choice.
Fill cracks and holes
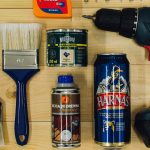
When it comes to painting, don’t just throw primers and top coats on willy-nilly. Instead, take your time to prepare the surface by filling holes, hairline cracks and other minor damage with products such as Polyfilla. This can be applied using a filing knife or scraper and is available as a dry powder or ready mixed in large tubs and tubes.
You can even buy water-resistant fillers (which are great for kitchens, bathrooms and outdoor use) and flexible gap fillers that can be used in cracks between two surfaces where movement can occur. One important thing to remember when using filler, however, is that it shrinks when it dries, so apply liberally and file it down with sandpaper when dry.
Apply basecoats and smoothers
You’ll often find that many surfaces you want to paint have some kind of dents or cracks but if these are only small they can be filled or covered using basecoats and smoothers.
The thick consistency of these products disguises everything from hairline cracks to small chips and holes, helping your surface to look as smooth as possible.
Basecoats and smoothers are generally easy to apply and one coat of paint is usually sufficient – although two coats can be applied as and when necessary. When using these products, always use a fluffy roller, as the textured appearance this creates will also help mask any minor imperfections.
Apply a thin coat of plaster
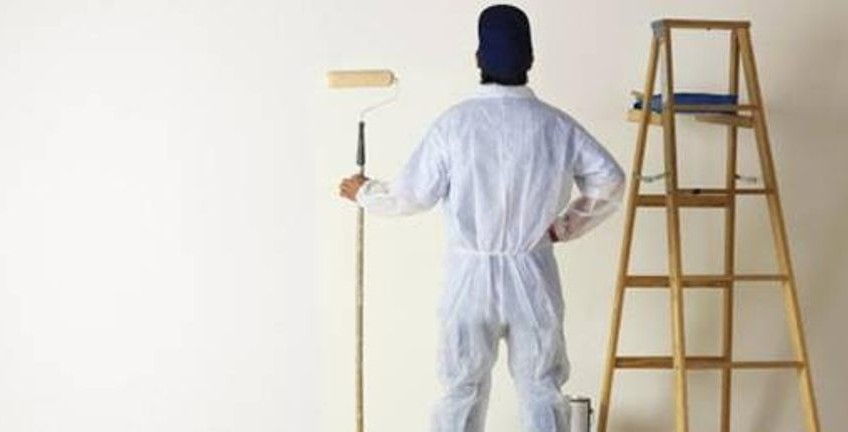
If your walls are looking a bit worse for wear and you want to get them back into tip-top shape, it’s probably best to call in a professional plasterer as they will use their skills and experience to even out the walls using a process called skimming. Essentially, this involves painting the walls in a polyvinyl acetate (as this will give the plaster something to stick to) before putting a thin layer of plaster on top of the existing plaster.
The purpose of this is to even out damaged or wonky surfaces and to help fill large dents/holes. Of course, if the wall, ceiling, floor or any other surface you want to paint is too badly damaged, you may need to get everything completely re-plastered before moving onto the painting stage.
Use the right products for different materials
The products you use will depend on what you’re painting. If you’re painting a wooden surface, for example, it’s a good idea to paint over knots with knotting otherwise the sap will bleed through any paint you apply. A wood primer followed by an oil-based undercoat should also be used and finished with an oil-based gloss or top coat.
For unpainted metal, always use a metal or all-purpose primer followed by gloss or eggshell paint. Again, oil-based undercoats should be used under oil-based paints.
Preparation is an important part of the painting process, so think about what needs to be done properly before getting to work. And, if you’re in need of a few decorating ideas, be sure to check out Pinterest for ideas on how to paint outdoor furniture and such like as this will make your DIY project more fun.